Are you ready to unleash your artistic side and create mesmerizing pieces that are guaranteed to turn heads? Look no further than the world of resin art! Whether you’re a seasoned artist or a beginner looking for a new creative outlet, resin art offers endless possibilities for expressing your unique style and vision.
Resin art is all about capturing the beauty of liquid colors and transforming them into stunning, glossy masterpieces. From abstract designs to intricate landscapes, this versatile medium allows you to let your imagination soar and create artwork that is truly one-of-a-kind.
In this blog post, we’ll dive into the world of resin art, exploring the materials and tools you need, providing a step-by-step guide on creating your own resin masterpiece, sharing tips on safety precautions while working with resin, as well as offering inspiration and ideas for your next project. So grab an apron and get ready to unlock your creativity like never before!
Let’s jump right in by discovering what materials and tools are essential for creating beautiful resin art pieces.
Materials and Tools Needed for Resin Art
Resin art is a unique and captivating form of artistic expression that allows you to create stunning pieces using resin as your medium. To embark on this creative journey, you will need a few essential materials and tools.
First and foremost, you will need epoxy resin. This is the main component that gives your artwork its glossy finish. There are different types of epoxy resins available in the market, so be sure to choose one that suits your needs.
Next, you will need a mixing container and stir sticks. These are crucial for properly combining the resin with any pigments or additives you may use. It’s important to mix the components thoroughly to ensure even distribution of color.
Speaking of color, pigment powders or liquid dyes are essential for adding vibrant hues to your resin art piece. Experiment with different shades and combinations to create unique effects.
You’ll also need molds or canvases on which to pour your resin mixture. Silicone molds work well for creating intricate shapes while canvas provides a flat surface for pouring abstract designs.
To achieve smooth finishes and eliminate air bubbles, a heat gun or torch can be used after pouring the resin onto your chosen surface. This helps in evenly spreading the mixture while removing any trapped air bubbles.
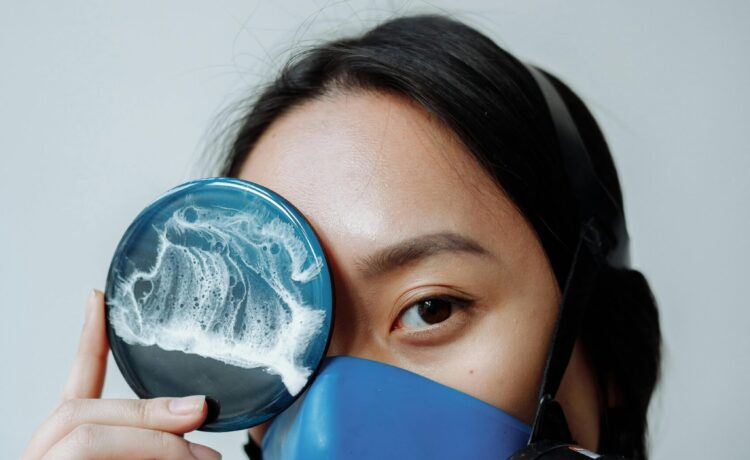
Don’t forget about safety equipment such as gloves, goggles, and a well-ventilated workspace when working with resin chemicals – always prioritize safety!
With these materials and tools at hand, you’re ready to unlock your creativity through mesmerizing resin art!
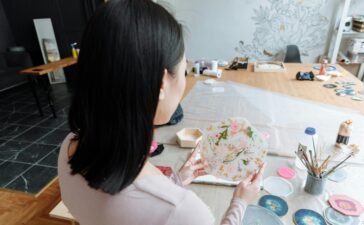
Step-by-Step Guide to Creating a Resin Art Piece
Creating a resin art piece is an exciting and rewarding process that allows you to express your creativity in a unique way. Whether you’re a beginner or an experienced artist, following a step-by-step guide can help you achieve stunning results.
1. Prepare your workspace: Start by setting up a well-ventilated area with proper ventilation and cover the surfaces with protective materials such as plastic sheets or newspapers.
2. Gather your materials: You’ll need epoxy resin, hardener, pigments or dyes for coloring, mixing cups, stirring sticks, gloves, and molds or canvases to pour the resin onto.
3. Measure and mix: Follow the instructions on your resin kit to measure out the correct ratio of resin to hardener. Pour them into separate cups and then combine them together in another cup. Stir gently but thoroughly to ensure they are fully mixed.
4. Add color: If desired, add pigments or dyes to create different effects and colors in your artwork. Mix them into small amounts of resin before adding it to the main mixture.
5. Pouring technique: Slowly pour the mixed resin onto your chosen surface – whether it’s a canvas or mold – using various techniques like pouring lines or creating layers for added depth.
6.Creating effects: Use tools such as brushes, palette knives, heat guns or blowtorches to manipulate the resin while it’s still wet. This can create interesting textures and patterns within your artwork.
7.Drying process: Allow sufficient time for the resin to cure according to manufacturer instructions before moving or touching it again.
Remember that practice makes perfect! Experiment with different techniques and materials until you find what works best for you. With each new project, you’ll improve your skills and unlock even more creative possibilities in this captivating form of artistry.
Maintaining Safety While Working with Resin
Safety should always be a top priority when working with resin art. Here are some tips to ensure your safety while creating stunning resin pieces.
1. Ventilation is crucial: Resin emits fumes that can be harmful if inhaled in large quantities. It’s essential to work in a well-ventilated area or use a respirator mask to protect yourself from the fumes.
2. Wear protective gear: To avoid skin irritation and potential allergic reactions, wear gloves and long-sleeved clothing while working with resin. Additionally, safety goggles will protect your eyes from any accidental splashes.
3. Follow manufacturers’ instructions: Different resins have different curing times and ratios for mixing. Always read and follow the instructions provided by the manufacturer to achieve optimal results and prevent any mishaps during the process.
4. Use a dedicated workspace: Designate a specific area for your resin art projects, away from food preparation areas or places where children or pets may accidentally come into contact with the materials.
5. Dispose of waste properly: Properly dispose of used brushes, containers, and any excess resin according to local regulations or guidelines provided by the manufacturer.
Inspiration and Ideas for Your Resin Art
Now that you have learned the basics of resin art and how to create stunning pieces, it’s time to explore some inspiration and ideas to take your creativity to the next level.
1. Nature-Inspired Art: Look around you for inspiration from nature. Create beautiful landscapes, ocean scenes, or capture the intricate details of flowers and plants in your resin art.
2. Geode Resin Art: One of the most popular trends in resin art is creating geodes. Use vibrant colors and metallic pigments to mimic the mesmerizing patterns found in natural geodes.
3. Abstract Designs: Let your imagination run wild with abstract designs. Experiment with different techniques like pouring, swirling, or using a blowtorch to create unique patterns and textures on your resin canvas.
4. Resin Jewelry: Don’t limit yourself to just wall art – explore the world of resin jewelry! Create one-of-a-kind earrings, pendants, or bracelets by embedding small objects like dried flowers or glitter into clear resin molds.
5. Galaxy Art: Bring outer space into your artwork by creating galaxy-themed resin pieces. Use deep blues, purples, blacks, and shimmering pigments to recreate the vastness of the cosmos on your canvas.
6. Mixed Media Resin Art: Combine other artistic mediums like acrylic paints, ink pens, or even photographs with resin for a truly multidimensional masterpiece.
7. Upcycle Old Objects: Give new life to old objects by incorporating them into your resin art projects. Embed vintage buttons into coasters or transform an outdated tray into a stunning work of functional art.
Remember that these ideas are just starting points – feel free to experiment and let your own unique style shine through!


